The Pros and Cons of Working in an Office

That Office Life
That Office Life

One of my friends recently asked me what my thoughts were on “Working from Home” vs Commuting. So, I wrote down a list.

The Pros of Working in an Office

There are definitely a couple pros that I can think about when working from the company office.

  1. The People.
    1. You get to have the random watercooler conversations.
    2. You don’t feel so “alone”
    3. You can easily bounce ideas off of others or weigh in on conversations that you otherwise would not have been involved in.
    4. It’s harder for people to avoid you. (So you can finally get Bill to provision that extra RAM you requested weeks ago)
  2. You have a better sense of the state of the company.
    1. You overhear information about how the company is doing
    2. You can literally see Manager1 and Manager2 rush down the hall to the CEO’s office. Which gives you a clue that something might be up.
  3. You can take part in the office perks (only available to office goers)
    1. Work provided lunch?
    2. On site Gym?
    3. On site Massage?
    4. Work provided chairs and desks

The Cons of Working in an Office

On the other hand there are certainly some flaws too.

  1. The People
    1. They are loud
    2. They don’t know when to leave you alone.
    3. Manager stands behind you pretending not to look directly at you (might as well be parked in a big white van right across the aisle from your desk).
    4. You overhear conversations you don’t want to hear
    5. Gloria complained that it was too cold in the office so now the thermostat is set at a flat 76 degrees during the summer and 82 degrees in the winter.
    6. Ted never washes his hands after using the restroom.
    7. Ted enjoys randomly giving you back massages while telling you some inappropriate joke.
    8. Ted works here.
    9. The restroom is always out of toilet paper.
    10. Ted is your boss.
    11. The restroom is also out of acceptable toilet paper substitutes, like paper towels, because someone decided using a TON OF ENERGY to heat up and blow hot air at your hands was better for the environment.
    12. Amanda plays with the action figures on your desk when she comes over to ask you a question. (BTW you’ve already answered this question three separate times via email, chat, and in a meeting).
    13. MEETINGS -> you are all literally in the same room. Ted is there.
  2. You have a better sense of the state of the company.
    1. Nobody knows what they’re doing. This company is doomed.
  3. You can take part in the office perks (only available to office goers)
    1. Work provided chairs and desks. Why do they even buy them?
    2. There is no work provided lunch, gym, or massage. But they do pay half the monthly fee for your space at the parking structure a couple blocks down the street.
    3. You have to commute to work, which means you might get stuck in traffic.
    4. Your space at the parking structure has a pillar in it.
    5. That couple blocks is a long way to walk.
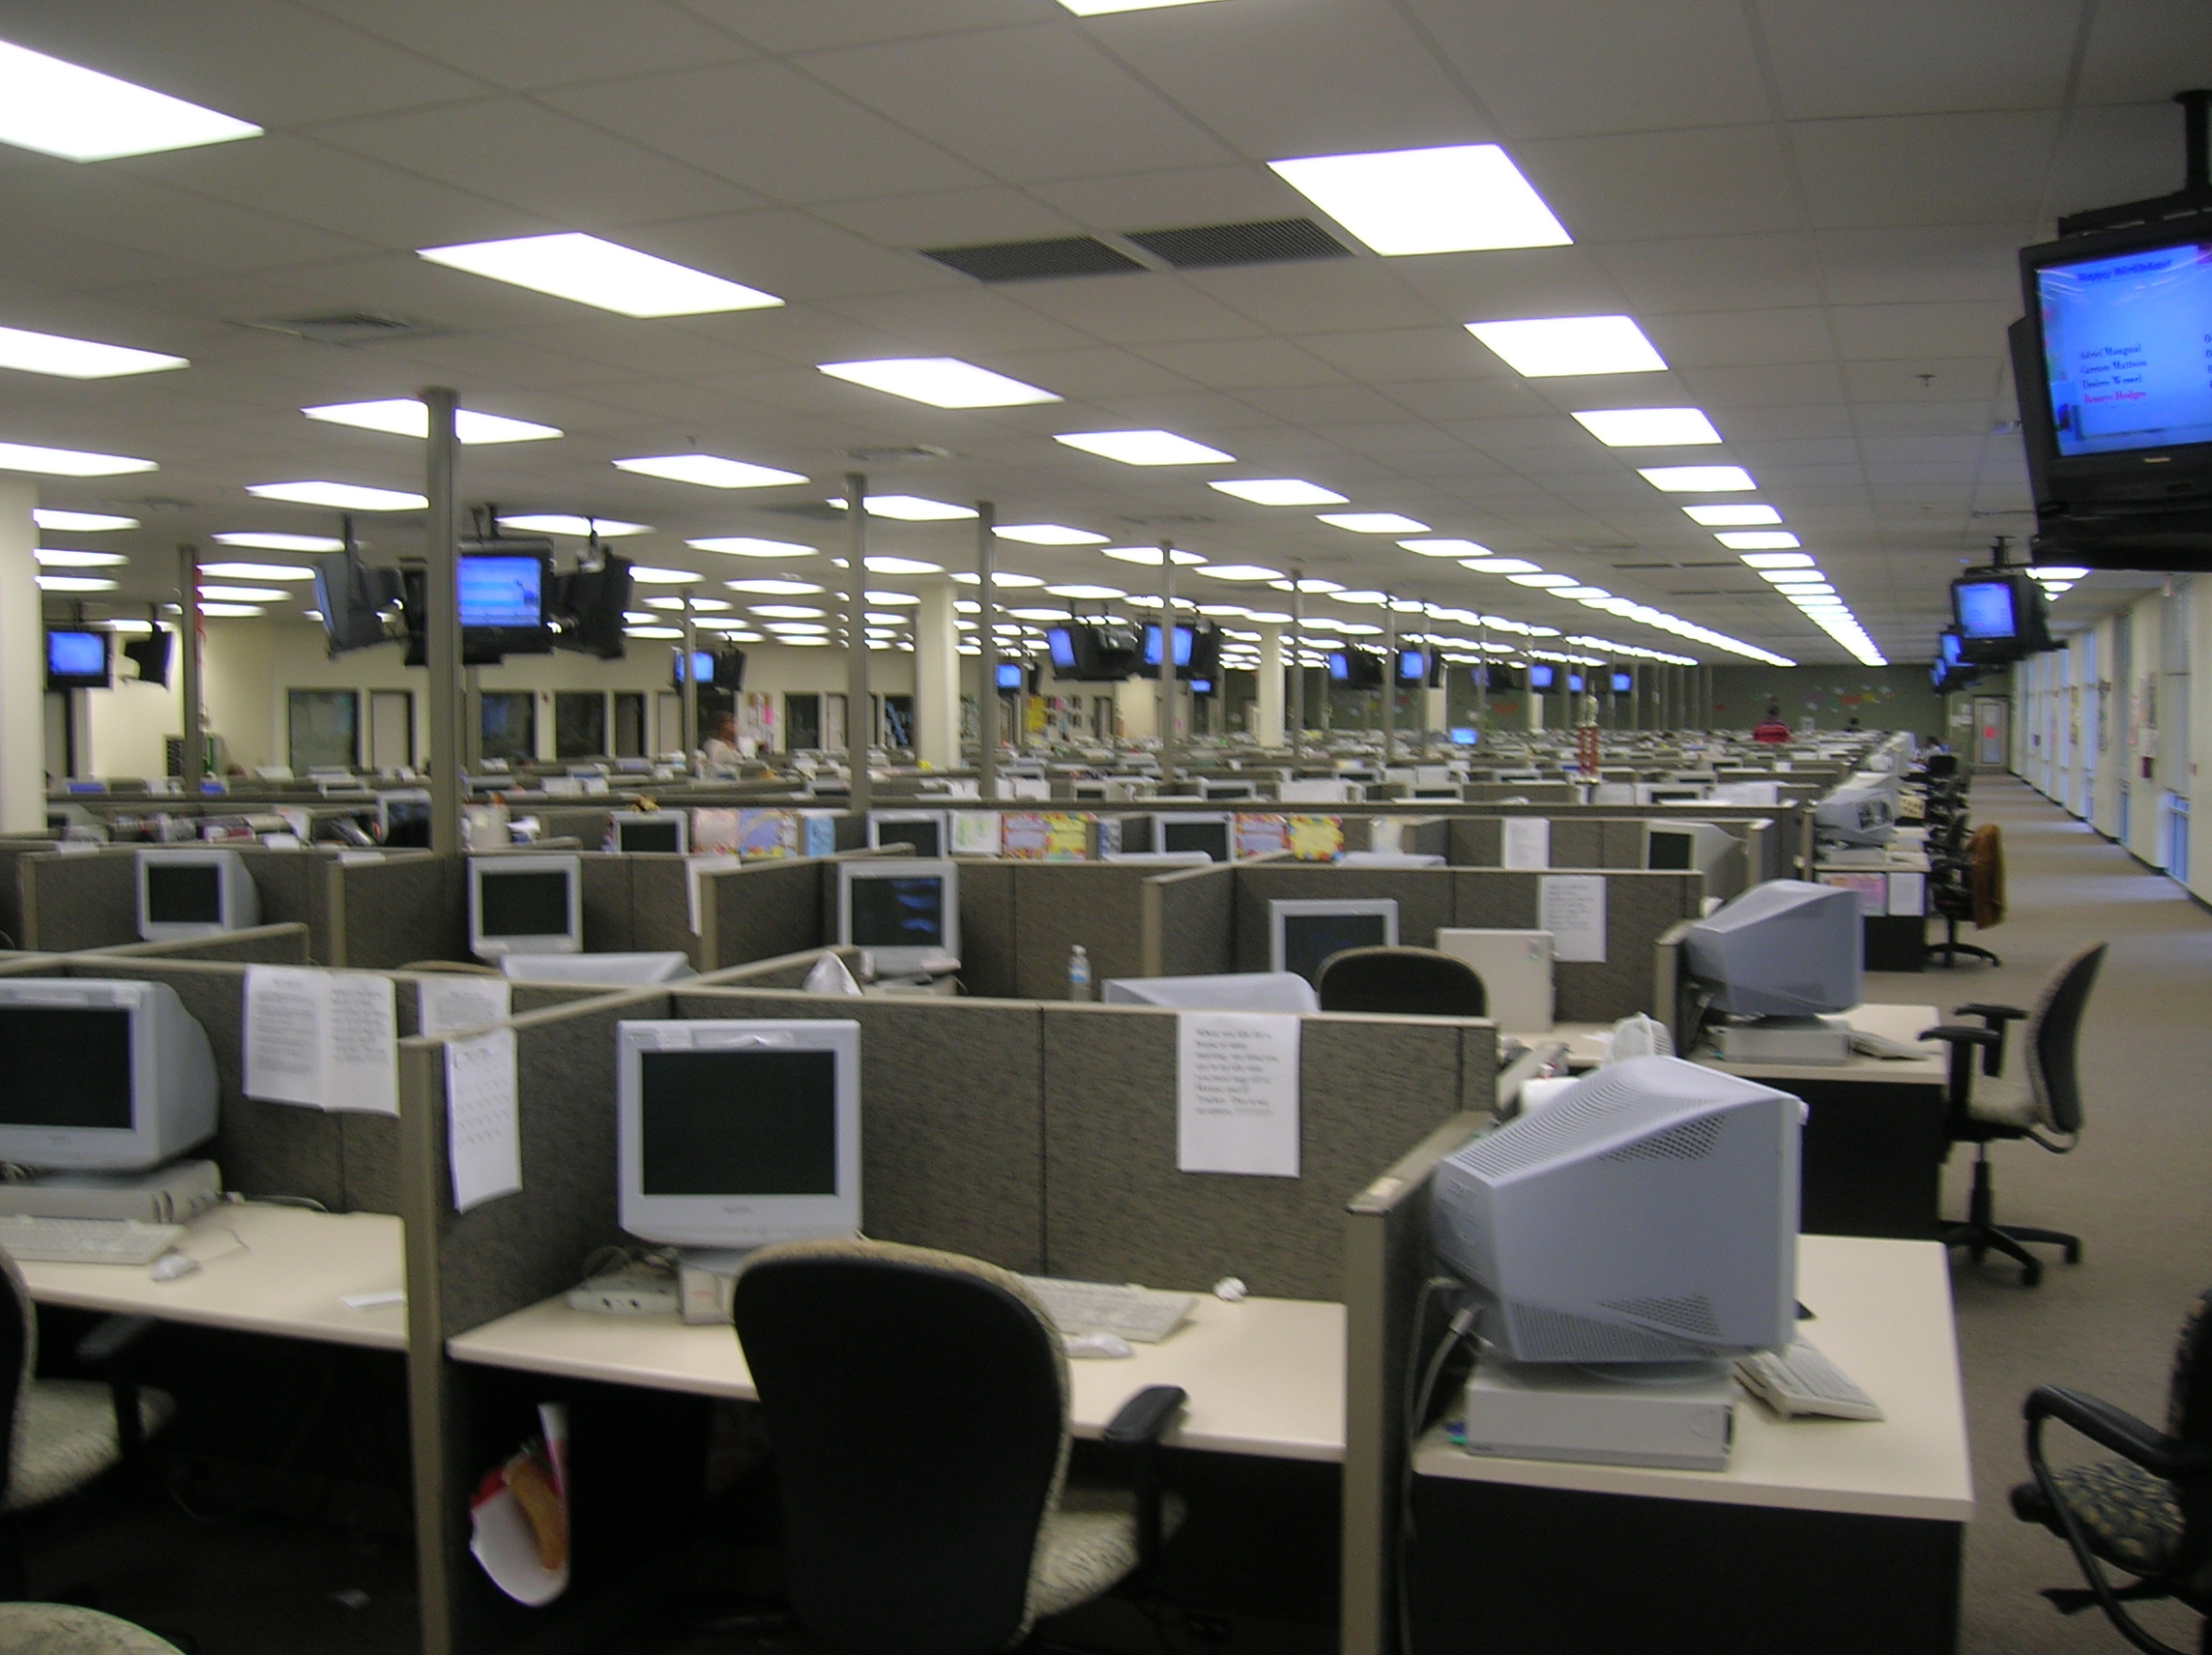
    6. Your company believes in an “Open Office” environment. That means you work at a long fold out table in an old warehouse. The good news is that there are no cubes so you can see Ted clipping his finger nails. Also, you’re elbows are constantly bumping into Bills elbows who sits immediately to your right. You don’t bump into anyone on the left, because on your left is the wall and you’re just squished against it all day.

I think that sums it up? Feel free to drop your own Pro/Cons in the comments.

Connect to a Chassis.io Vagrant Hosted WordPress Database

Chassis.io is an excellent tool to get you quickly setup for WordPress development. Barring any timeout issues, the setup is typically as simple as following their QuickStart guide.

Chassis.io uses Vagrant and VirtualBox to setup a Virtual Machine that hosts your WordPress site. This post covers how you can connect to your WordPress database that exists on that Virtual Machine. I’ll be using Windows and HeidiSQL for the purpose of this post. The connection information I use in this post comes from this GitHub issue.

Connecting with HeidiSQL

HeidiSQL is my favorite query browser for MySQL and MariaDB databases. I like the layout and the interface is nice and clean.

When you first open HeidiSQL you will see the interface for creating a new Database connection.HeidiSQL Session Manager
Choose whichever name you want to help you remember what this connection is for. I’ve named mine “Chassis” because it’s my connection to the database Chassis.io setup. You’ll also want to set the following settings:

  • Network type: MySQL (SSH tunnel)
  • Hostname / IP: localhost
  • User: wordpress
  • Password: vagrantpassword
  • Port: 3306

That’s it for the basic settings. Now for the SSH Tunnel settings.

HeidiSQL – Plink.exe and Private Key

HeidiSQL uses a utility called “plink.exe” for it’s SSH capabilities. plink.exe is made by the same author who wrote PuTTY (which I’m sure you’ve heard of). If you haven’t got plink.exe downloaded you can find the latest exe on this page. You’ll want to grab both plink.exe and puttygen.exe. I stuck both utilities inside a “PuTTY” folder in my Program Files (x86) directory. You can stick them wherever you want to.

Ok, before we setup the SSH Tunnel settings we are going to want to setup the Private key file that plink.exe will use to communicate with your Virtual Machine. PuTTY utilities use specific private key files called .ppk files. We are going to want to convert the Vagrant provided private key file to a .ppk file for use by plink.exe. Luckily, the puttygen.exe utility you downloaded makes this conversion simple.

Launch puttygen.exe. This will launch the “PuTTY Key Generator”. Load in the Vagrant provided private key file by using File > Load Private Key. Navigate to the location of your Vagrant private key file. Mine was located in C:\projects\chassis\.vagrant\machines\default\virtualbox. Your location may be different depending on where your Chassis project is. Find the “private_key” file and open that. The PuTTY Key Generator will take care of loading the key in for you. You should see a “Successfully imported foreign key …” message. Now click “Save private key”, choose a name for it, and save it. I just saved it exactly where the other private_key was.

PuTTY Key Generator
Location of the “Save private key” button

Woot! Now we can fill out the HeidiSQL SSH tunnel settings. Remember where you saved that .ppk file because you’ll need it for this next step.

HeidiSQL – SSH Tunnel Settings

Click on the tab for “SSH tunnel” to access the HeidiSQL Session Manager SSH Tunnel settings.

HeidiSQL SSH Tunnel Settings

Alright, let’s plug in the values!

  • plink.exe location: Insert the path to your plink.exe utility.
  • SSH host + port: localhost and 2222
  • Username: vagrant
  • Password: just leave this blank
  • plink.exe timeout: default is fine
  • Private key file: Path to the .ppk file we created above
  • Local port: 3307 is fine

Now we come to the moment of truth. Push the “Save” button on the HeidiSQL session manager to save your changes. Now push the “Open” button and HeidiSQL should connect to your Vagrant hosted WordPress database. Woot!

Chassis.io Timeout Issue

TL:DR -> Try enabling Virtualization in your BIOS.

I’m trying out http://chassis.io as a way to easily setup a WordPress development environment on Windows. It’s actually quite easy and everything works almost exactly like the Chassis Get Started guide describes.

However, I ran into a timeout issue when attempting to boot up the Virtual Machine using vagrant up. On first run the process installed necessary dependencies and wired most things up. However, it hung for a considerable amount of time when booting up the virtual machine. Eventually it told me that it had timed out. It didn’t start the virtual machine.

VT-x/AMD-V hardware acceleration is not available on your system

Hrmm… I wonder why it’s timing out. Chassis.io uses Vagrant and VirtualBox. So I spun up VirtualBox to see if I could manually start the VM myself. As it turns out, I could not. VirtualBox threw up the following error:

VirtualBox - Error
VT-x/AMD-V hardware acceleration is not available on your system. Your 64-bit guest will fail to detect a 64-bit CPU and will not be able to boot.

Well, that’s nice… (Hint: it’s not nice).

First Try: Disabling Hyper-V

I did some searching. I found a number of posts that indicated the solution was to disable Hyper-V. It sounds like this works for a lot of people. Scott Hanselman actually wrote up a post about how to “Switch easily between VirtualBox and Hyper-V with a BCDEdit boot Entry in Windows 8.1“. I tried this approach. It did not work for me (you can remove a bcdEdit entry using bcdedit /delete {ENTRYGUID} btw).

Second Try: Enabling Virtualization via BIOS

During my search I stumbled upon this SuperUser answer. The answer indicated that, depending on your system, Virtualization could be enabled via the BIOS.

In my case, enabling Virtualization via BIOS involved booting to the UEFI Firmware Settings. I’ve outlined the steps below.

  1. Hold down the Shift key while you click Restart. This will cause your computer to bring up a special menu.

    Hold Down Shift and Restart
    Hold down “SHIFT” and click Restart
  2. Next you need to navigate the option screens to find “UEFI Firmware Settings”
    1. Select “Troubleshoot”
    2. Select “Advanced options”
    3. Select “UEFI Firmware Settings”
    4. Restart

    Steps to UEFI Firmware Settings
    Steps to UEFI Firmware Settings
  3. This will reboot you into your PC’s UEFI settings which looks a lot like a typical BIOS menu.
  4. Enable Virtualization
    Your system may be different. My system had a “Virtualization” setting located under the “Security” tab. Once I located the “Virtualization” setting I noticed that “Intel (R) Virtualization Technology” was indeed set to Disabled. I enabled it, saved the setting, and restarted my machine.

    Enable Virtualization via BIOS
    Enable Virtualization via BIOS

After enabling “Virtualization” I tried to start the VirtualBox VM one more time. BOOM. It worked. I ran vagrant up via a ConEmu console and… success.

In Conclusion

Chassis.io is a pretty sweet project. If your system is setup correctly then Chassis.io “just works”. In my case my system needed “Virtualization” enabled via a UEFI Firmware Setting.

Have a stupendous day! 🙂