TL:DR -> Try enabling Virtualization in your BIOS.
I’m trying out http://chassis.io as a way to easily setup a WordPress development environment on Windows. It’s actually quite easy and everything works almost exactly like the Chassis Get Started guide describes.
However, I ran into a timeout issue when attempting to boot up the Virtual Machine using vagrant up. On first run the process installed necessary dependencies and wired most things up. However, it hung for a considerable amount of time when booting up the virtual machine. Eventually it told me that it had timed out. It didn’t start the virtual machine.
VT-x/AMD-V hardware acceleration is not available on your system
Hrmm… I wonder why it’s timing out. Chassis.io uses Vagrant and VirtualBox. So I spun up VirtualBox to see if I could manually start the VM myself. As it turns out, I could not. VirtualBox threw up the following error:
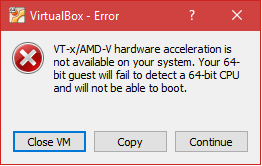
Well, that’s nice… (Hint: it’s not nice).
First Try: Disabling Hyper-V
I did some searching. I found a number of posts that indicated the solution was to disable Hyper-V. It sounds like this works for a lot of people. Scott Hanselman actually wrote up a post about how to “Switch easily between VirtualBox and Hyper-V with a BCDEdit boot Entry in Windows 8.1“. I tried this approach. It did not work for me (you can remove a bcdEdit entry using bcdedit /delete {ENTRYGUID} btw).
Second Try: Enabling Virtualization via BIOS
During my search I stumbled upon this SuperUser answer. The answer indicated that, depending on your system, Virtualization could be enabled via the BIOS.
In my case, enabling Virtualization via BIOS involved booting to the UEFI Firmware Settings. I’ve outlined the steps below.
- Hold down the
Shiftkey while you clickRestart. This will cause your computer to bring up a special menu.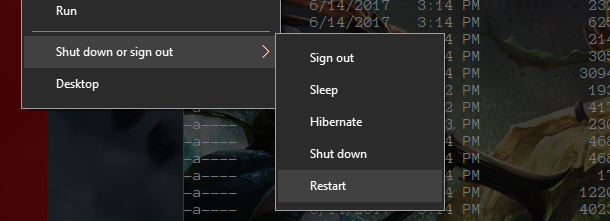
Hold down “SHIFT” and click Restart - Next you need to navigate the option screens to find “UEFI Firmware Settings”
1. Select “Troubleshoot”
2. Select “Advanced options”
3. Select “UEFI Firmware Settings”
4. Restart
Steps to UEFI Firmware Settings - This will reboot you into your PC’s UEFI settings which looks a lot like a typical BIOS menu.
- Enable Virtualization
Your system may be different. My system had a “Virtualization” setting located under the “Security” tab. Once I located the “Virtualization” setting I noticed that “Intel (R) Virtualization Technology” was indeed set toDisabled. I enabled it, saved the setting, and restarted my machine.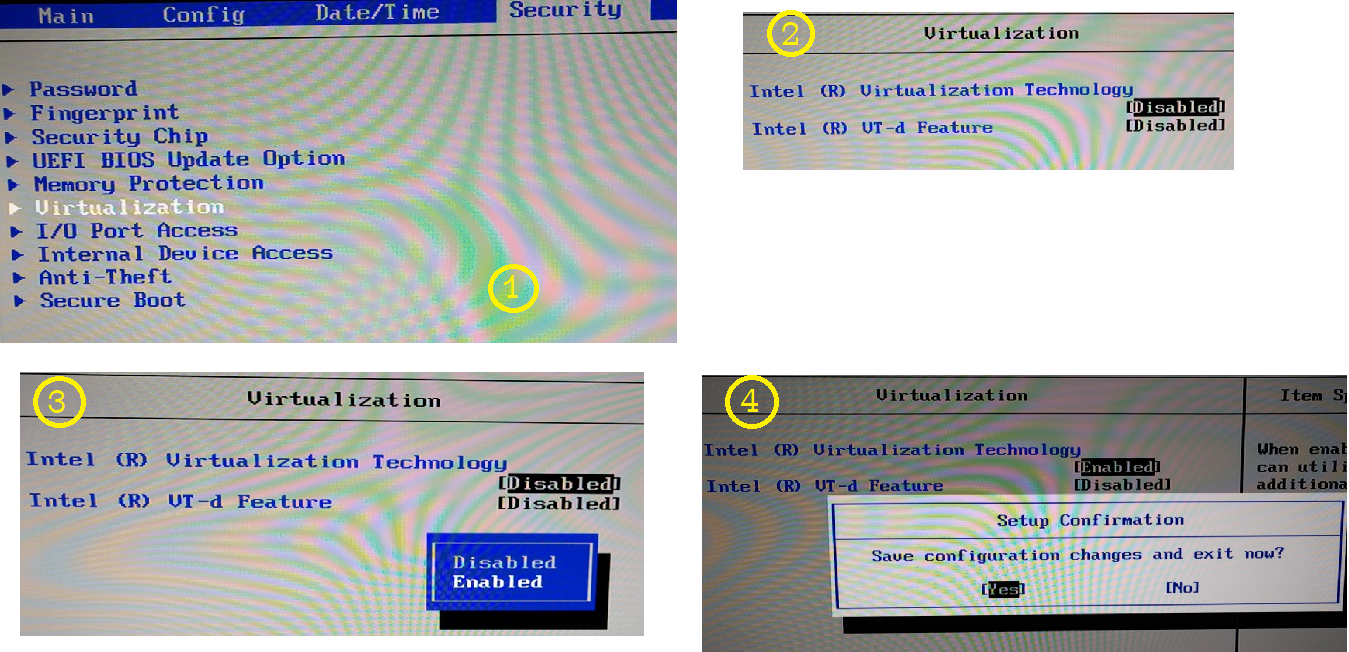
Enable Virtualization via BIOS
After enabling “Virtualization” I tried to start the VirtualBox VM one more time. BOOM. It worked. I ran vagrant up via a ConEmu console and… success.
In Conclusion
Chassis.io is a pretty sweet project. If your system is setup correctly then Chassis.io “just works”. In my case my system needed “Virtualization” enabled via a UEFI Firmware Setting.
Have a stupendous day! 🙂